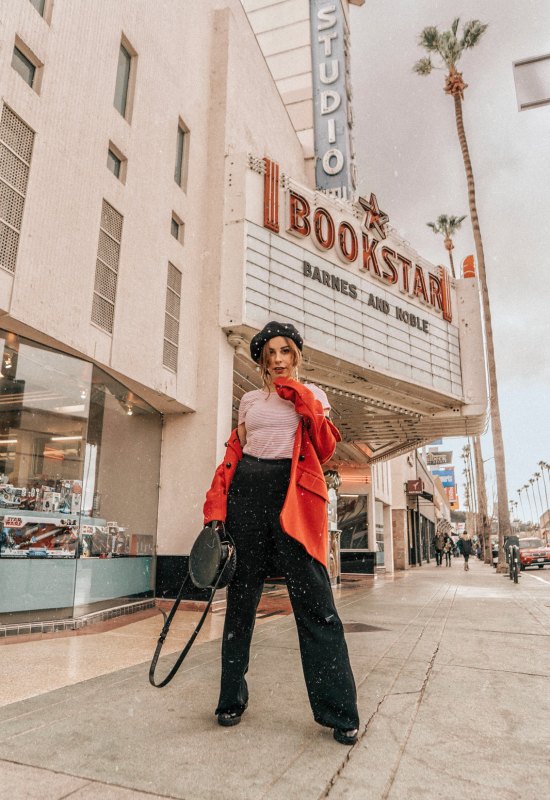
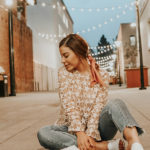
Getting that perfect shot for Instagram is a huge process! And the biggest thing that I have learned over the years is that editing is everything. Seriously. A photo taken in front of a store on a not so pleasant street can look like the shot of the year with the right edits.
Now, you guys always ask me for an editing guide and while this isn’t a full post breaking down the details (because I am still perfecting my style). I thought I would share my 5 Must-Have Editing Apps and what I use each for.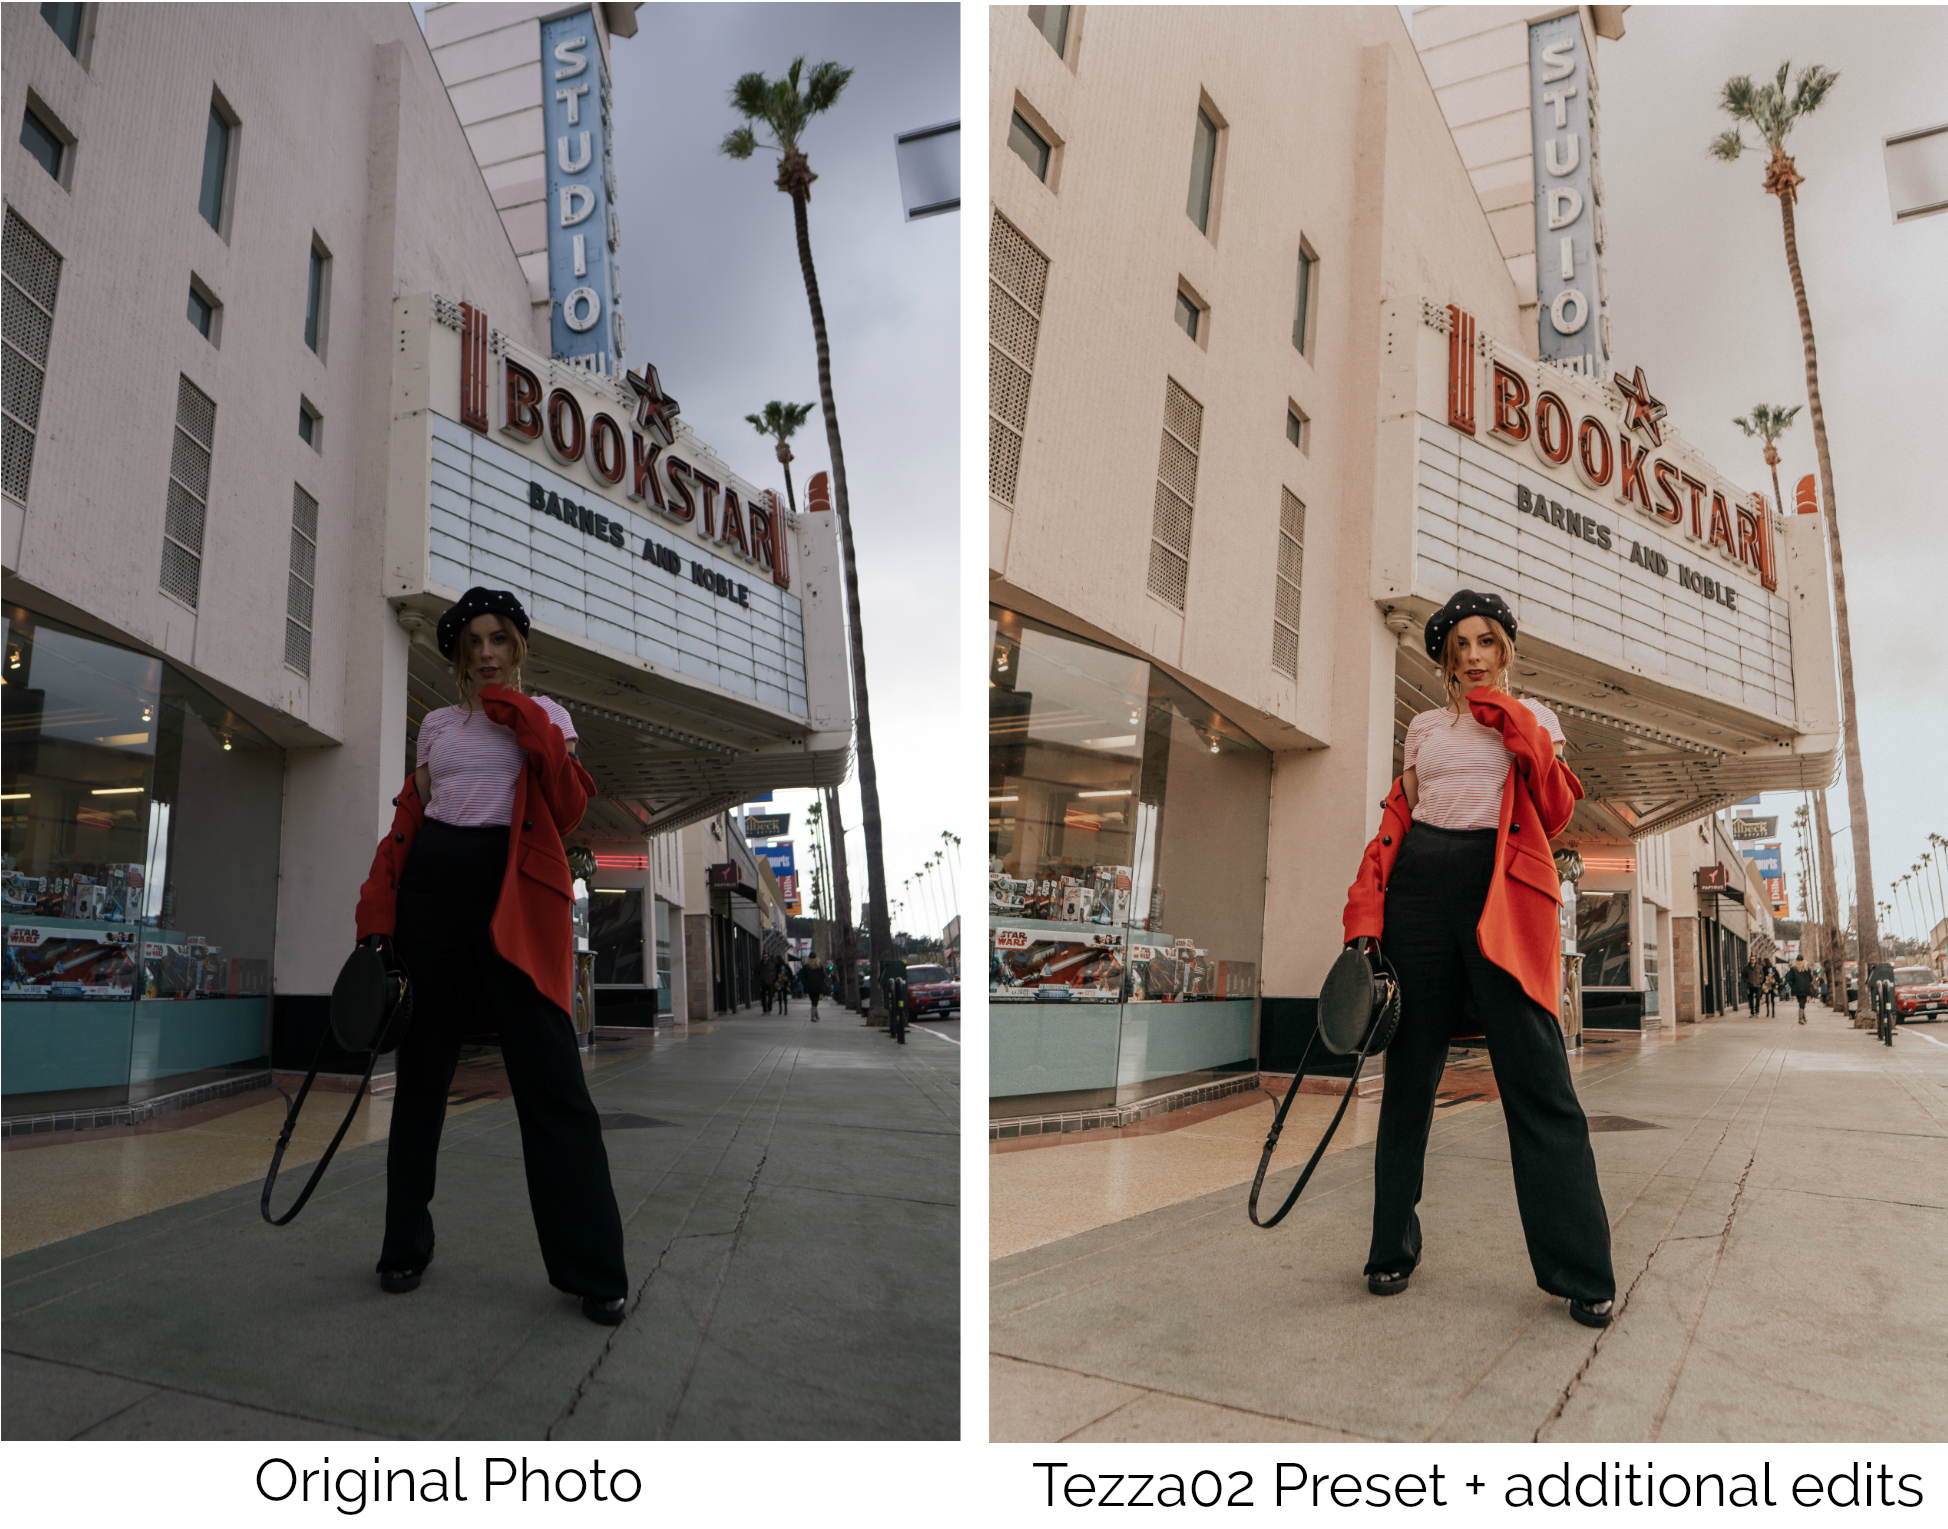
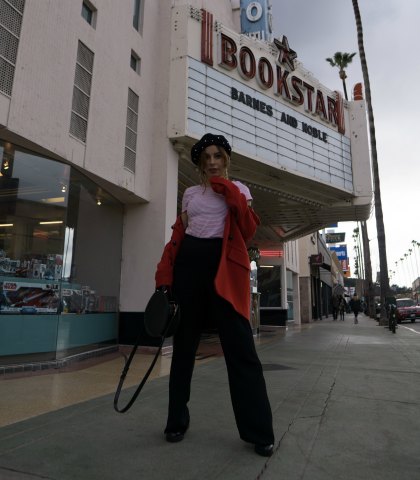
I first apply the Tezza02 or Tezza04 preset on my desktop and edit a bit to get my base look. Then I Airdrop to my iPhone and use the following apps to get the final look!
1. Lightroom – I use Lightroom on my laptop and I also LOVE the Lightroom App on my iPhone. With this app I adjust the hue, saturation and luminance for specific colors. For example, I like my yellows to be highly orange so the hue level on my yellows is cranked up to the orange side. I like my blues to be on the green side making them look more turquoise. I use luminance to brighten certain colors and darken others. I use saturation to make colors pop. 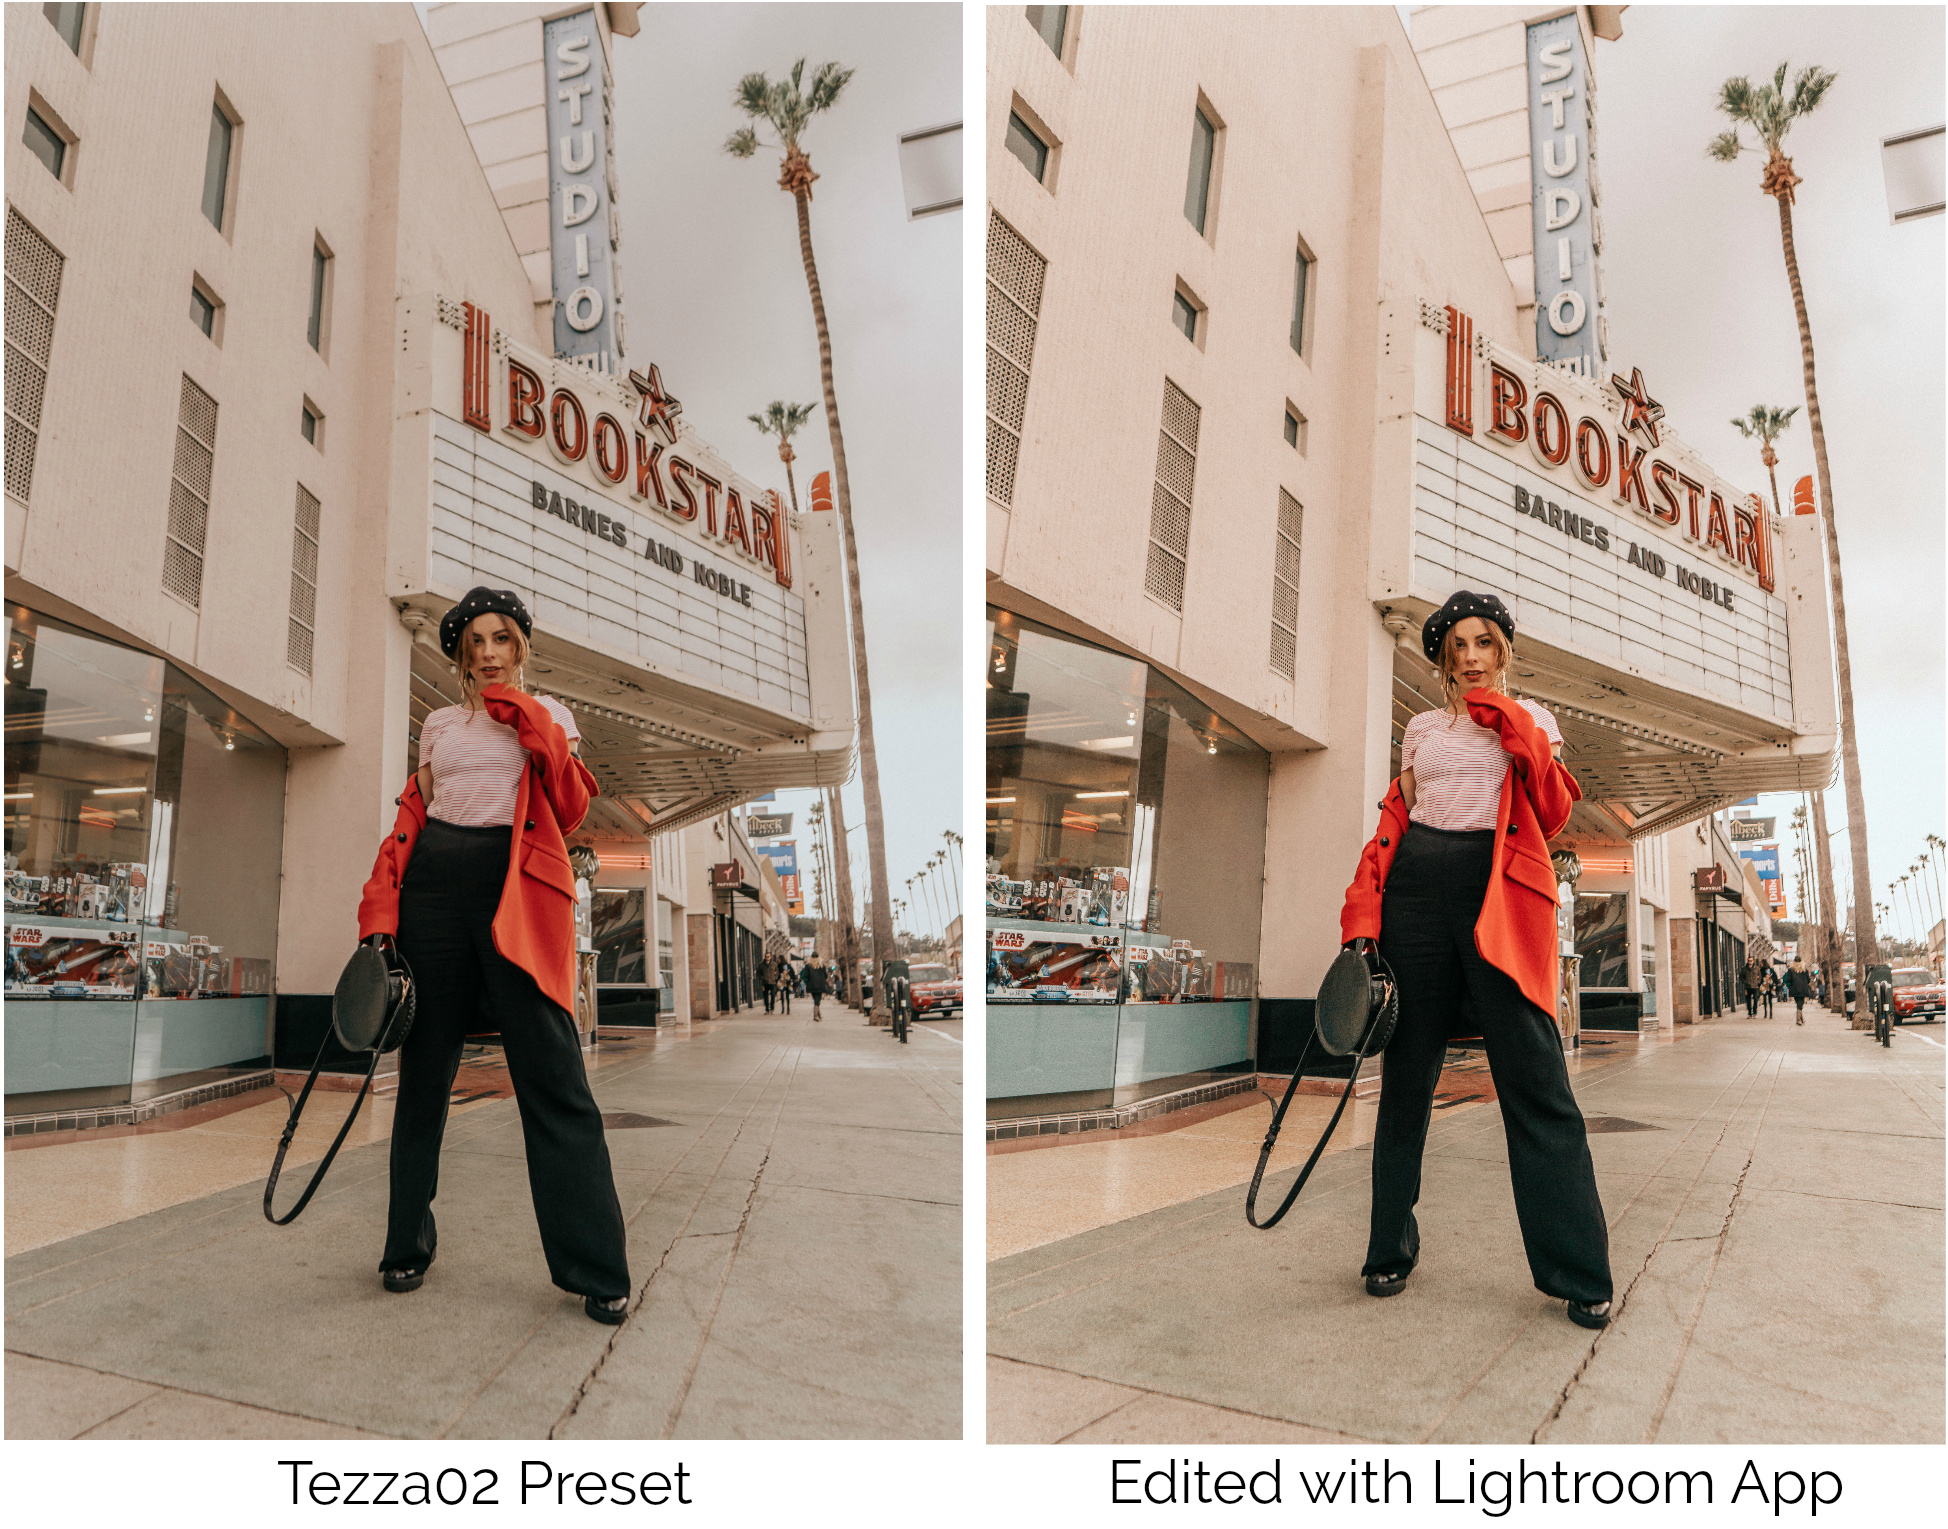 2. Snapseed – I have been using Snapseed for years now and the app has so many great features I feel like I am always discovering new things! I use Snapseed for lighting purposes…making photos more bright but bringing down the highlights so they are not overexposed. But, the real winner for Snapseed is the Tonal Contrast feature which makes photos sharp and clear. I usually take the levels down mid-level at about +20. I also use Snapseed to add grain! Simply look for the Grainy Film option then take down the Style Strength to 0 but bring up grain to your liking…mine is usually around +30. I also use the Brush tool brighten the background.
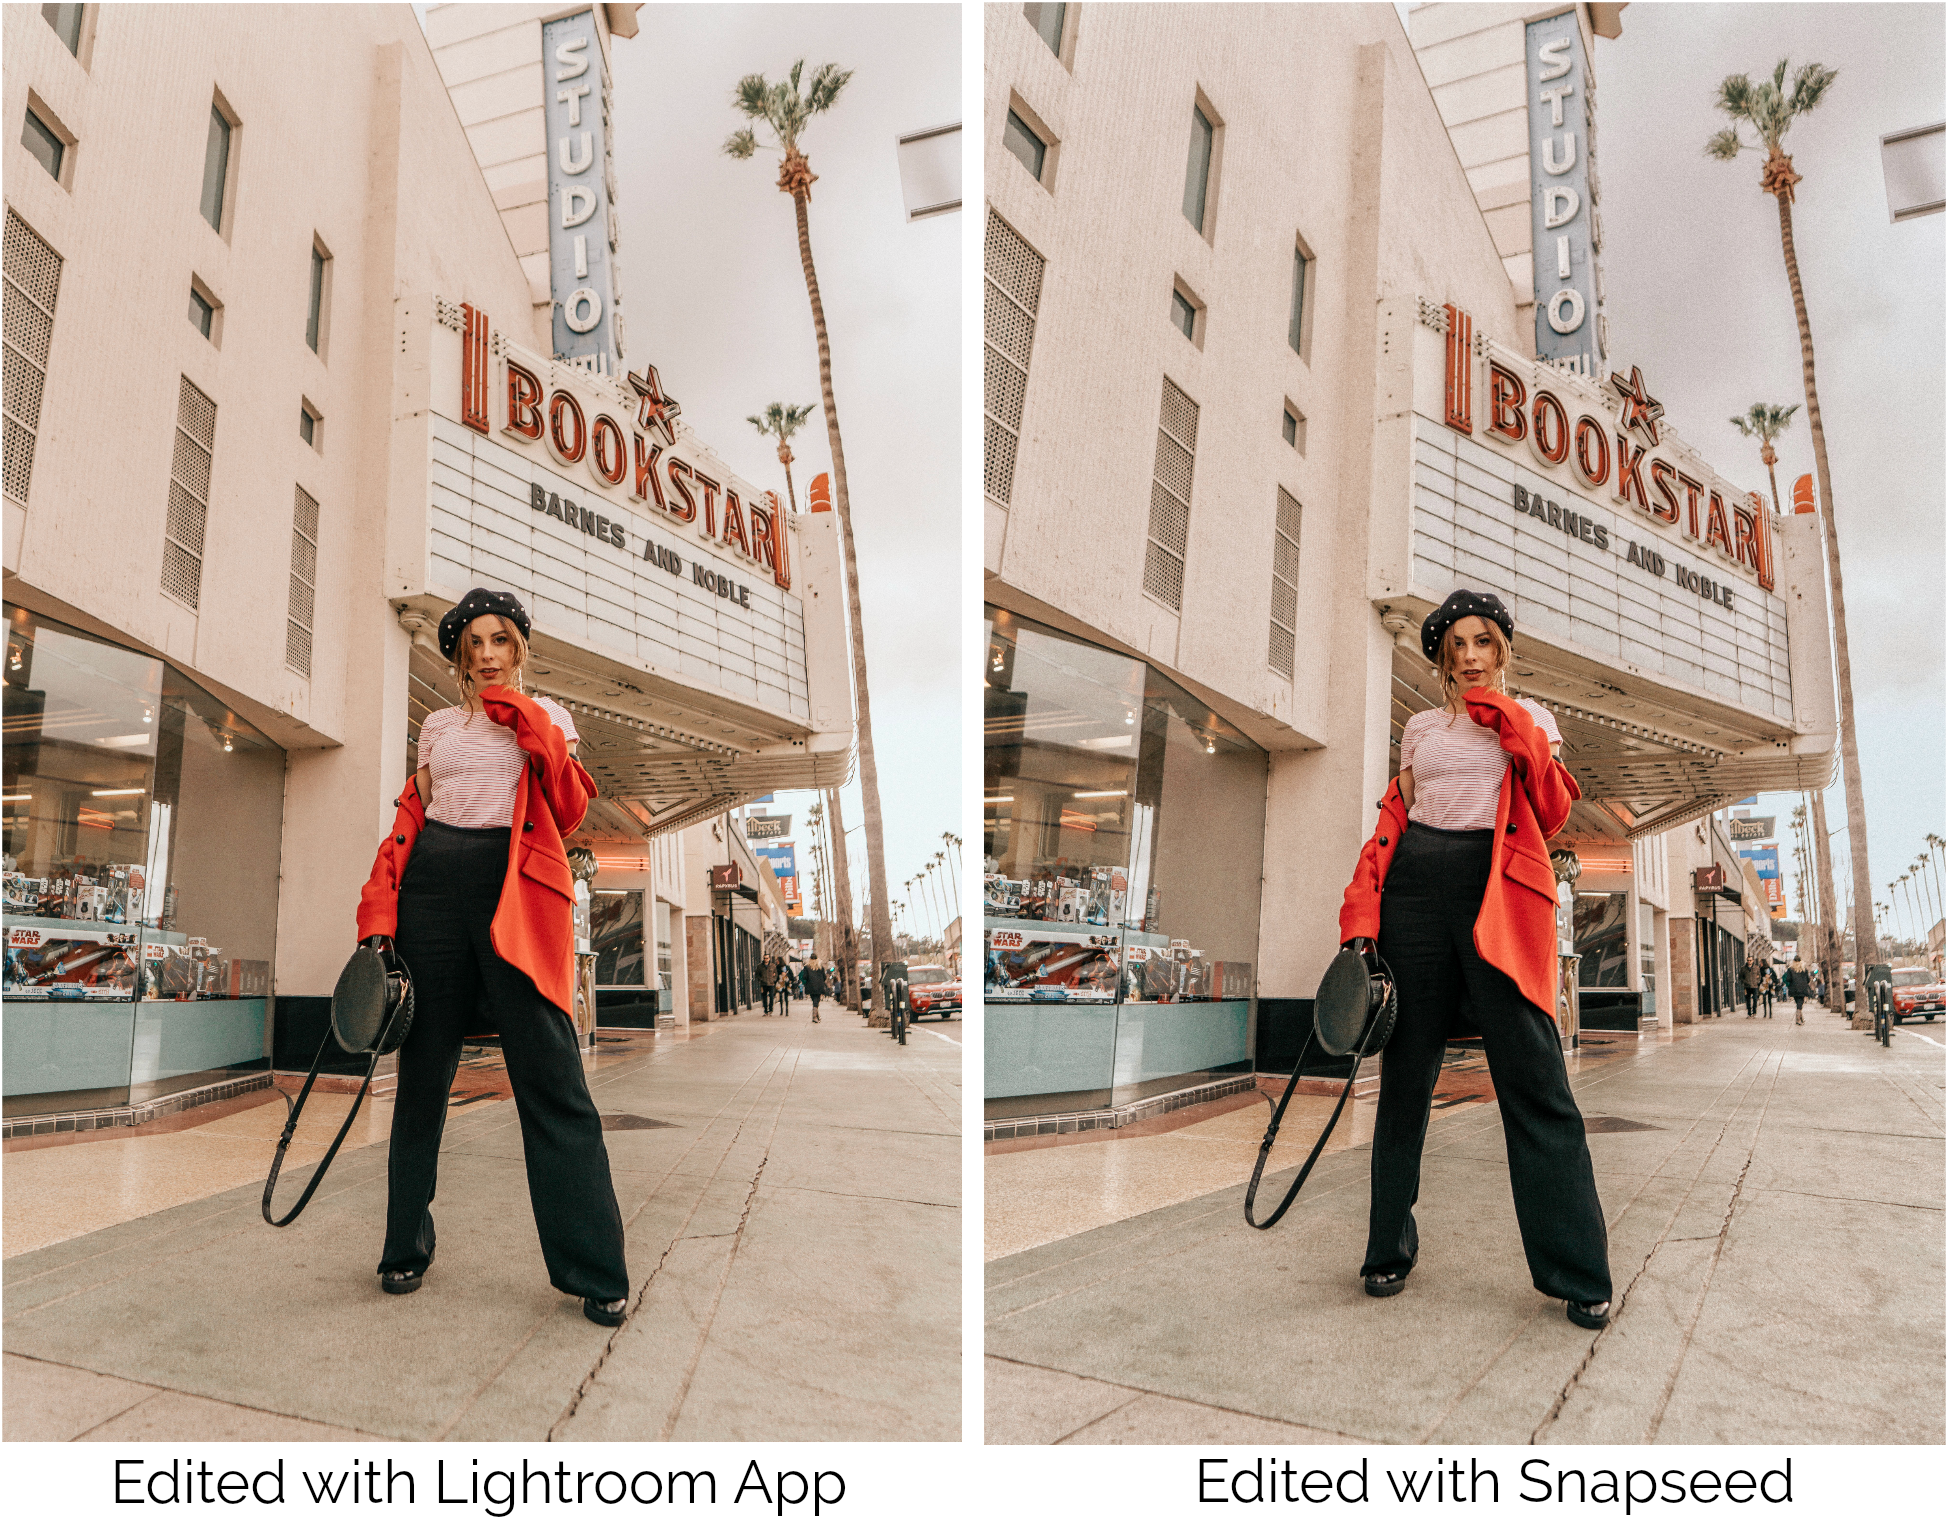 3. Piclab – Piclab is a fun easy tool to use to add doodles but I use Piclab to add Scratches and dust to my photos! Simply find the Overlay option and scroll to Scratches. They have a handful of options!
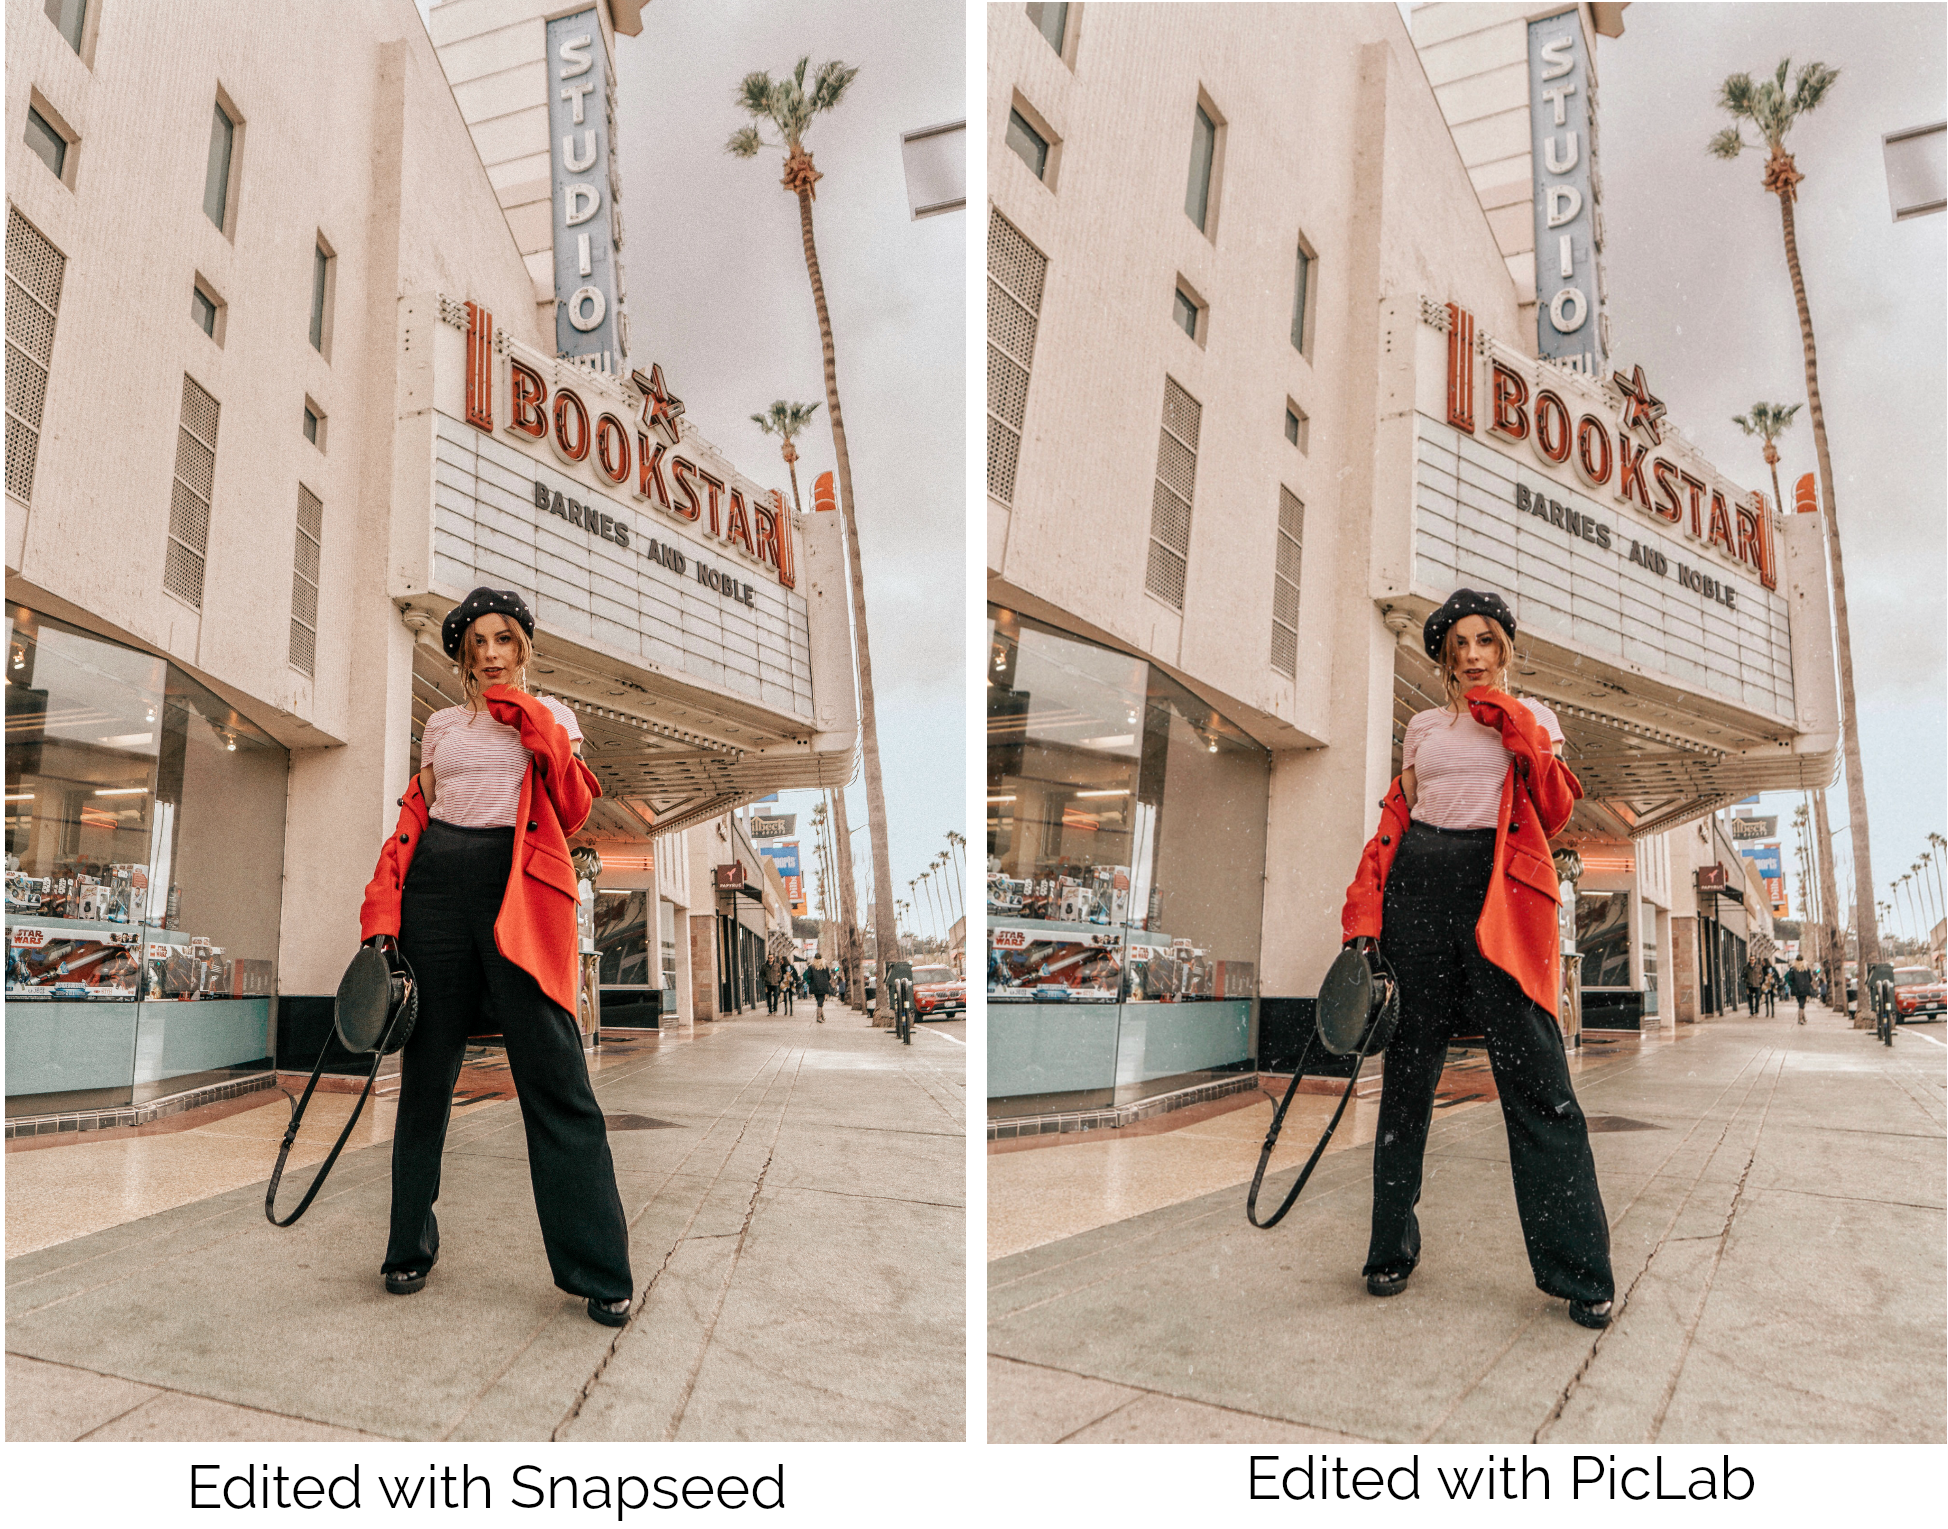 4. Facetune – I feel like most people deny using this app…and you guys know how honest I am…so yes I do use Facetune. I use it to clear my skin, add details to my eyes, hair and outfits and a nip and tuck here and there! If my arm looks like a ham I’m going to fix it! No shame in that. Use the tool with discretion and don’t make your size 6 body into a size 0.
5. Planoly – This isn’t an editing app per say but it is the final step I take before posting a photo on Instagram. I use Planoly to plan out my feed and play around with photos so my gallery is aesthetically pleasing. I also love that they have analytics built in which gives me insight into what photos performed the best at what times!
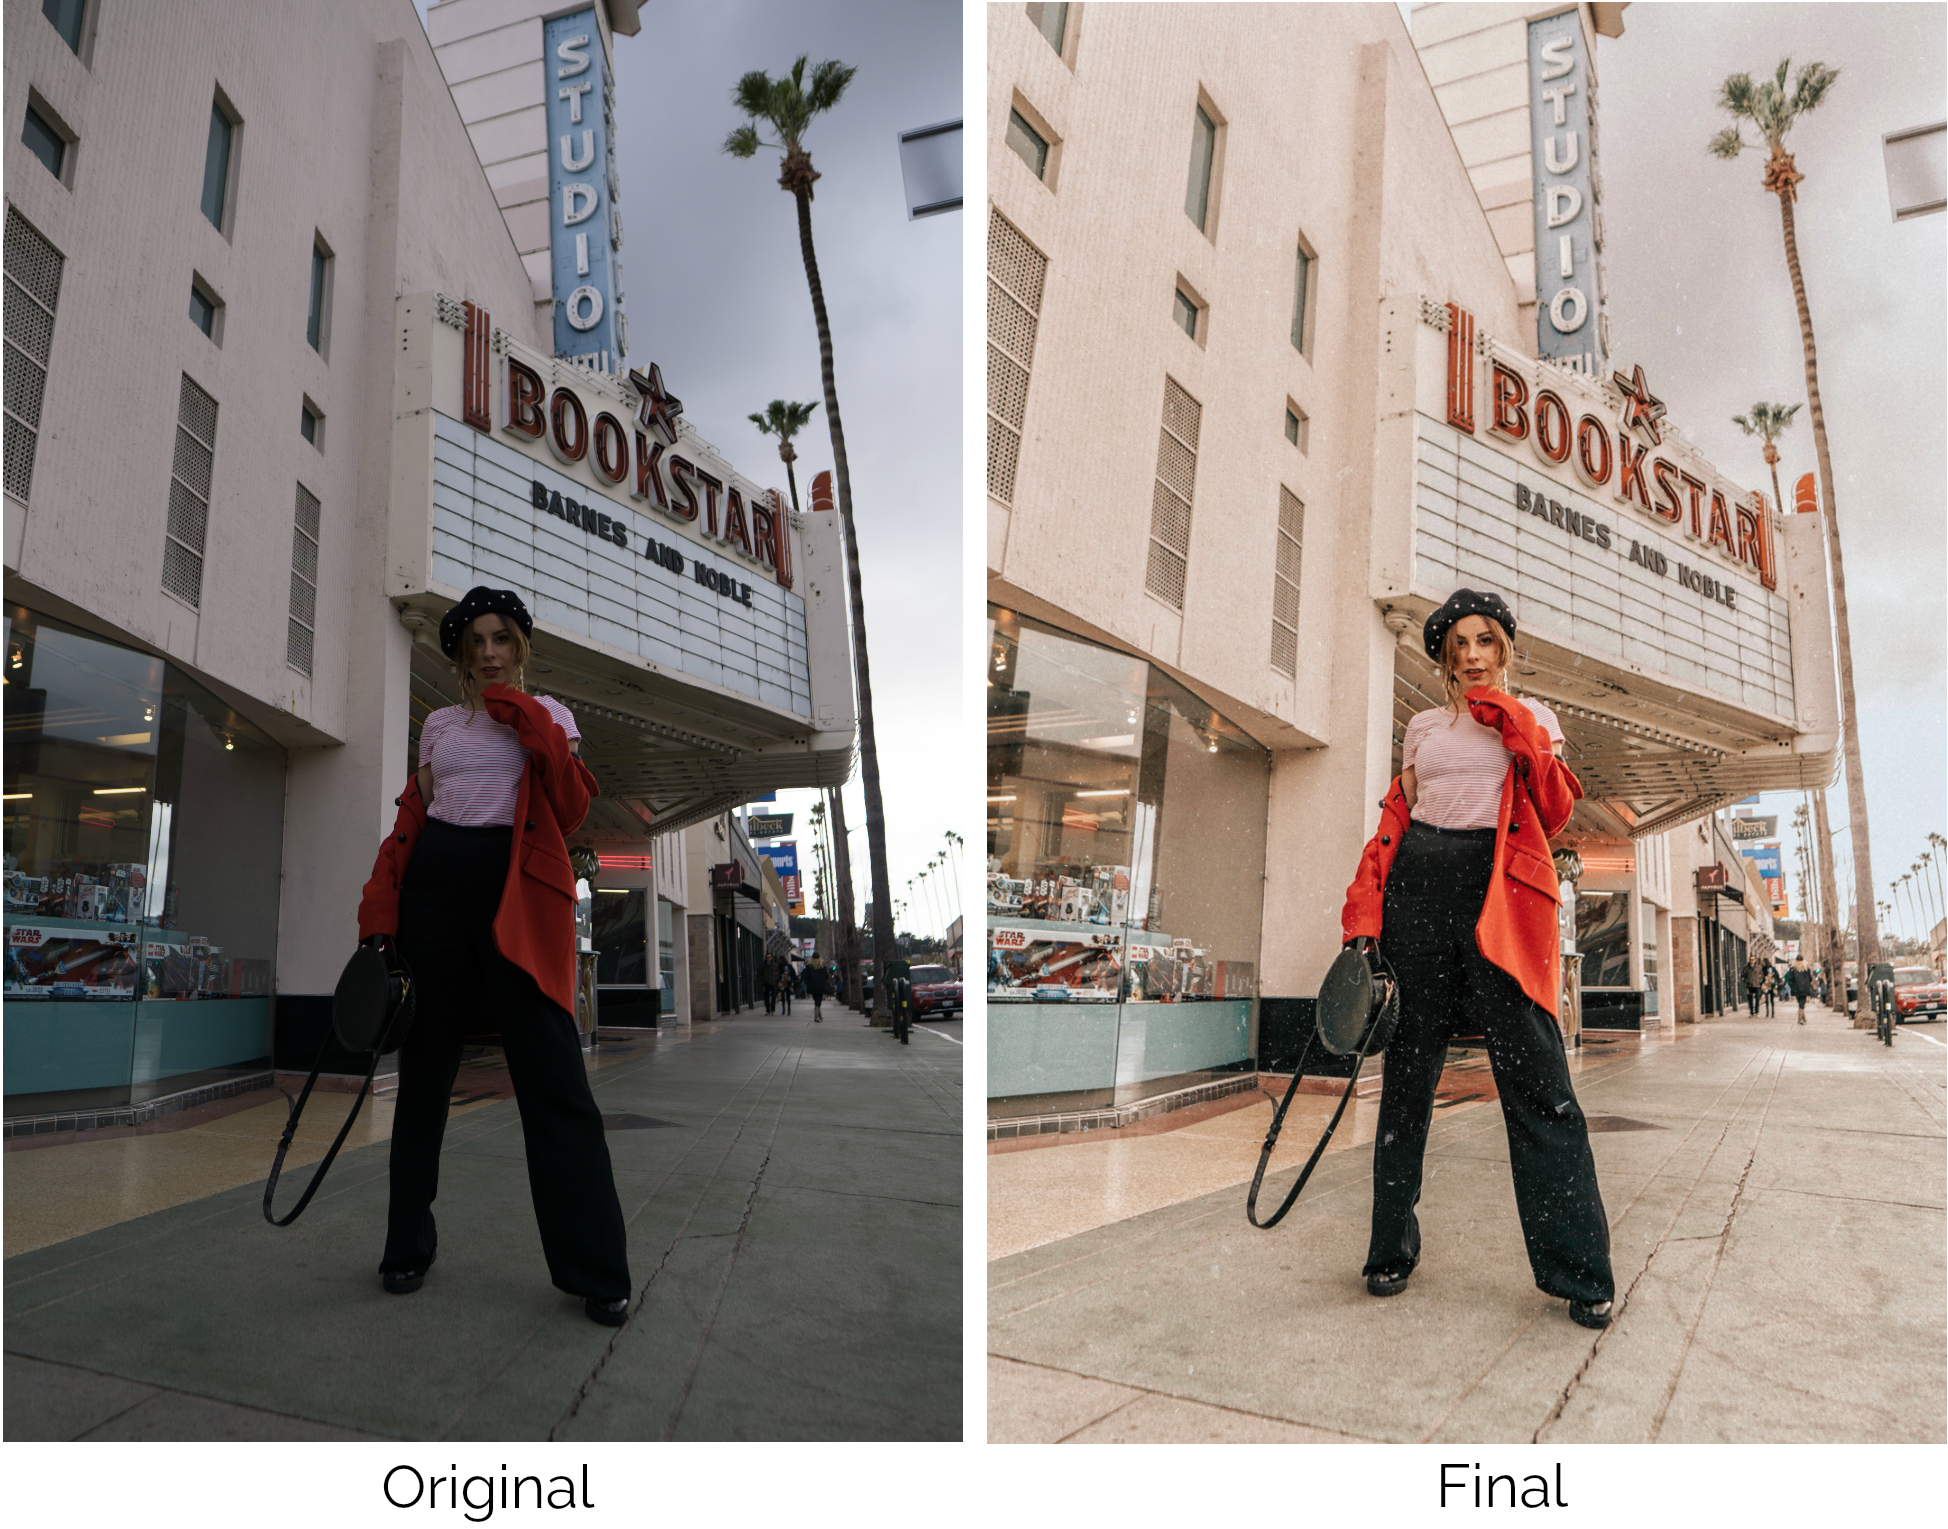
As you can see there are a ton of steps I take to go from the Original shot to the Final! I hope this inspires and motivates you to edit and achieve the look you’ve always wanted with your photos. As always, everything takes a ton of practice and patience!


Thank You so much for this!! I absolutely love your blog and the helpful tips you share. Definitely my Favourite blogger x
THANK YOU! So glad you did a post on this. I’ve been so curious ever since I started following you. I find it hard when taking photos in different lighting to get the same overall color tone.. it either makes my skin tone looks super weird (cause I’m pale af) or makes the background look shit. 😛 I already use a few of these apps but I’m gonna try out the rest! Hoping I can have a more consistent looking feed in the future. Thanks for the advice and inspiration, love. 💕😊
I’m loving your feed and always curious what other bloggers use to edit 🙂
My favourites are snapseed and facetune too. Right now I’m using vsco filters but maybe I should try those Tezz ones too… 😉 and afterlight is als good for scratches and so on.
Lovely post!! 🙂
Xxx
Tina
https://StyleAppetite.com
I was SOOOOO curious on this!!! Thanks so much for doing this post…really was needed…I’m figuring out my style right and this helped tremendously! Right on thanks🧡
This post was extremely helpful! Your Instagram is a big inspiring for what I hope my feed can be one day! I’ll defintely be implementing these tips❤️
Riley | http://www.rileyedixon.com
Thank you so much! I only use the editing tool from Instagram :p Gotta try the apps you shared.